Mercedes Benz W/S211 (E-class) and W219 (CLS) 3D printed Shadow Light
You won’t find a suitable Shadow Light (Door Light, Welcome Light) for the Mercedes Benz W/S211 (E-class) and W219 (CLS) in the whole internet or in any online store?
No idea, why that is so, but it possible to print and assemble an own Shadow Light bracket, that fits Plug and Play in the existing Soffitten bulb socket.
Following things are needed for the Shadow Light
– Ball head screws (Tamiya Ball Connector 5mm SP-592)
– Wires 0.055mm2 in different colours
– Canbus/LED Driver electronic module
– Led projector with desired logo
– V2A micro countersunk head screws (1.2 x 6mm)
– Soldering iron and some “skilled craftsmanship”
The STL files for the 3D print are available to download at Thingiverse.
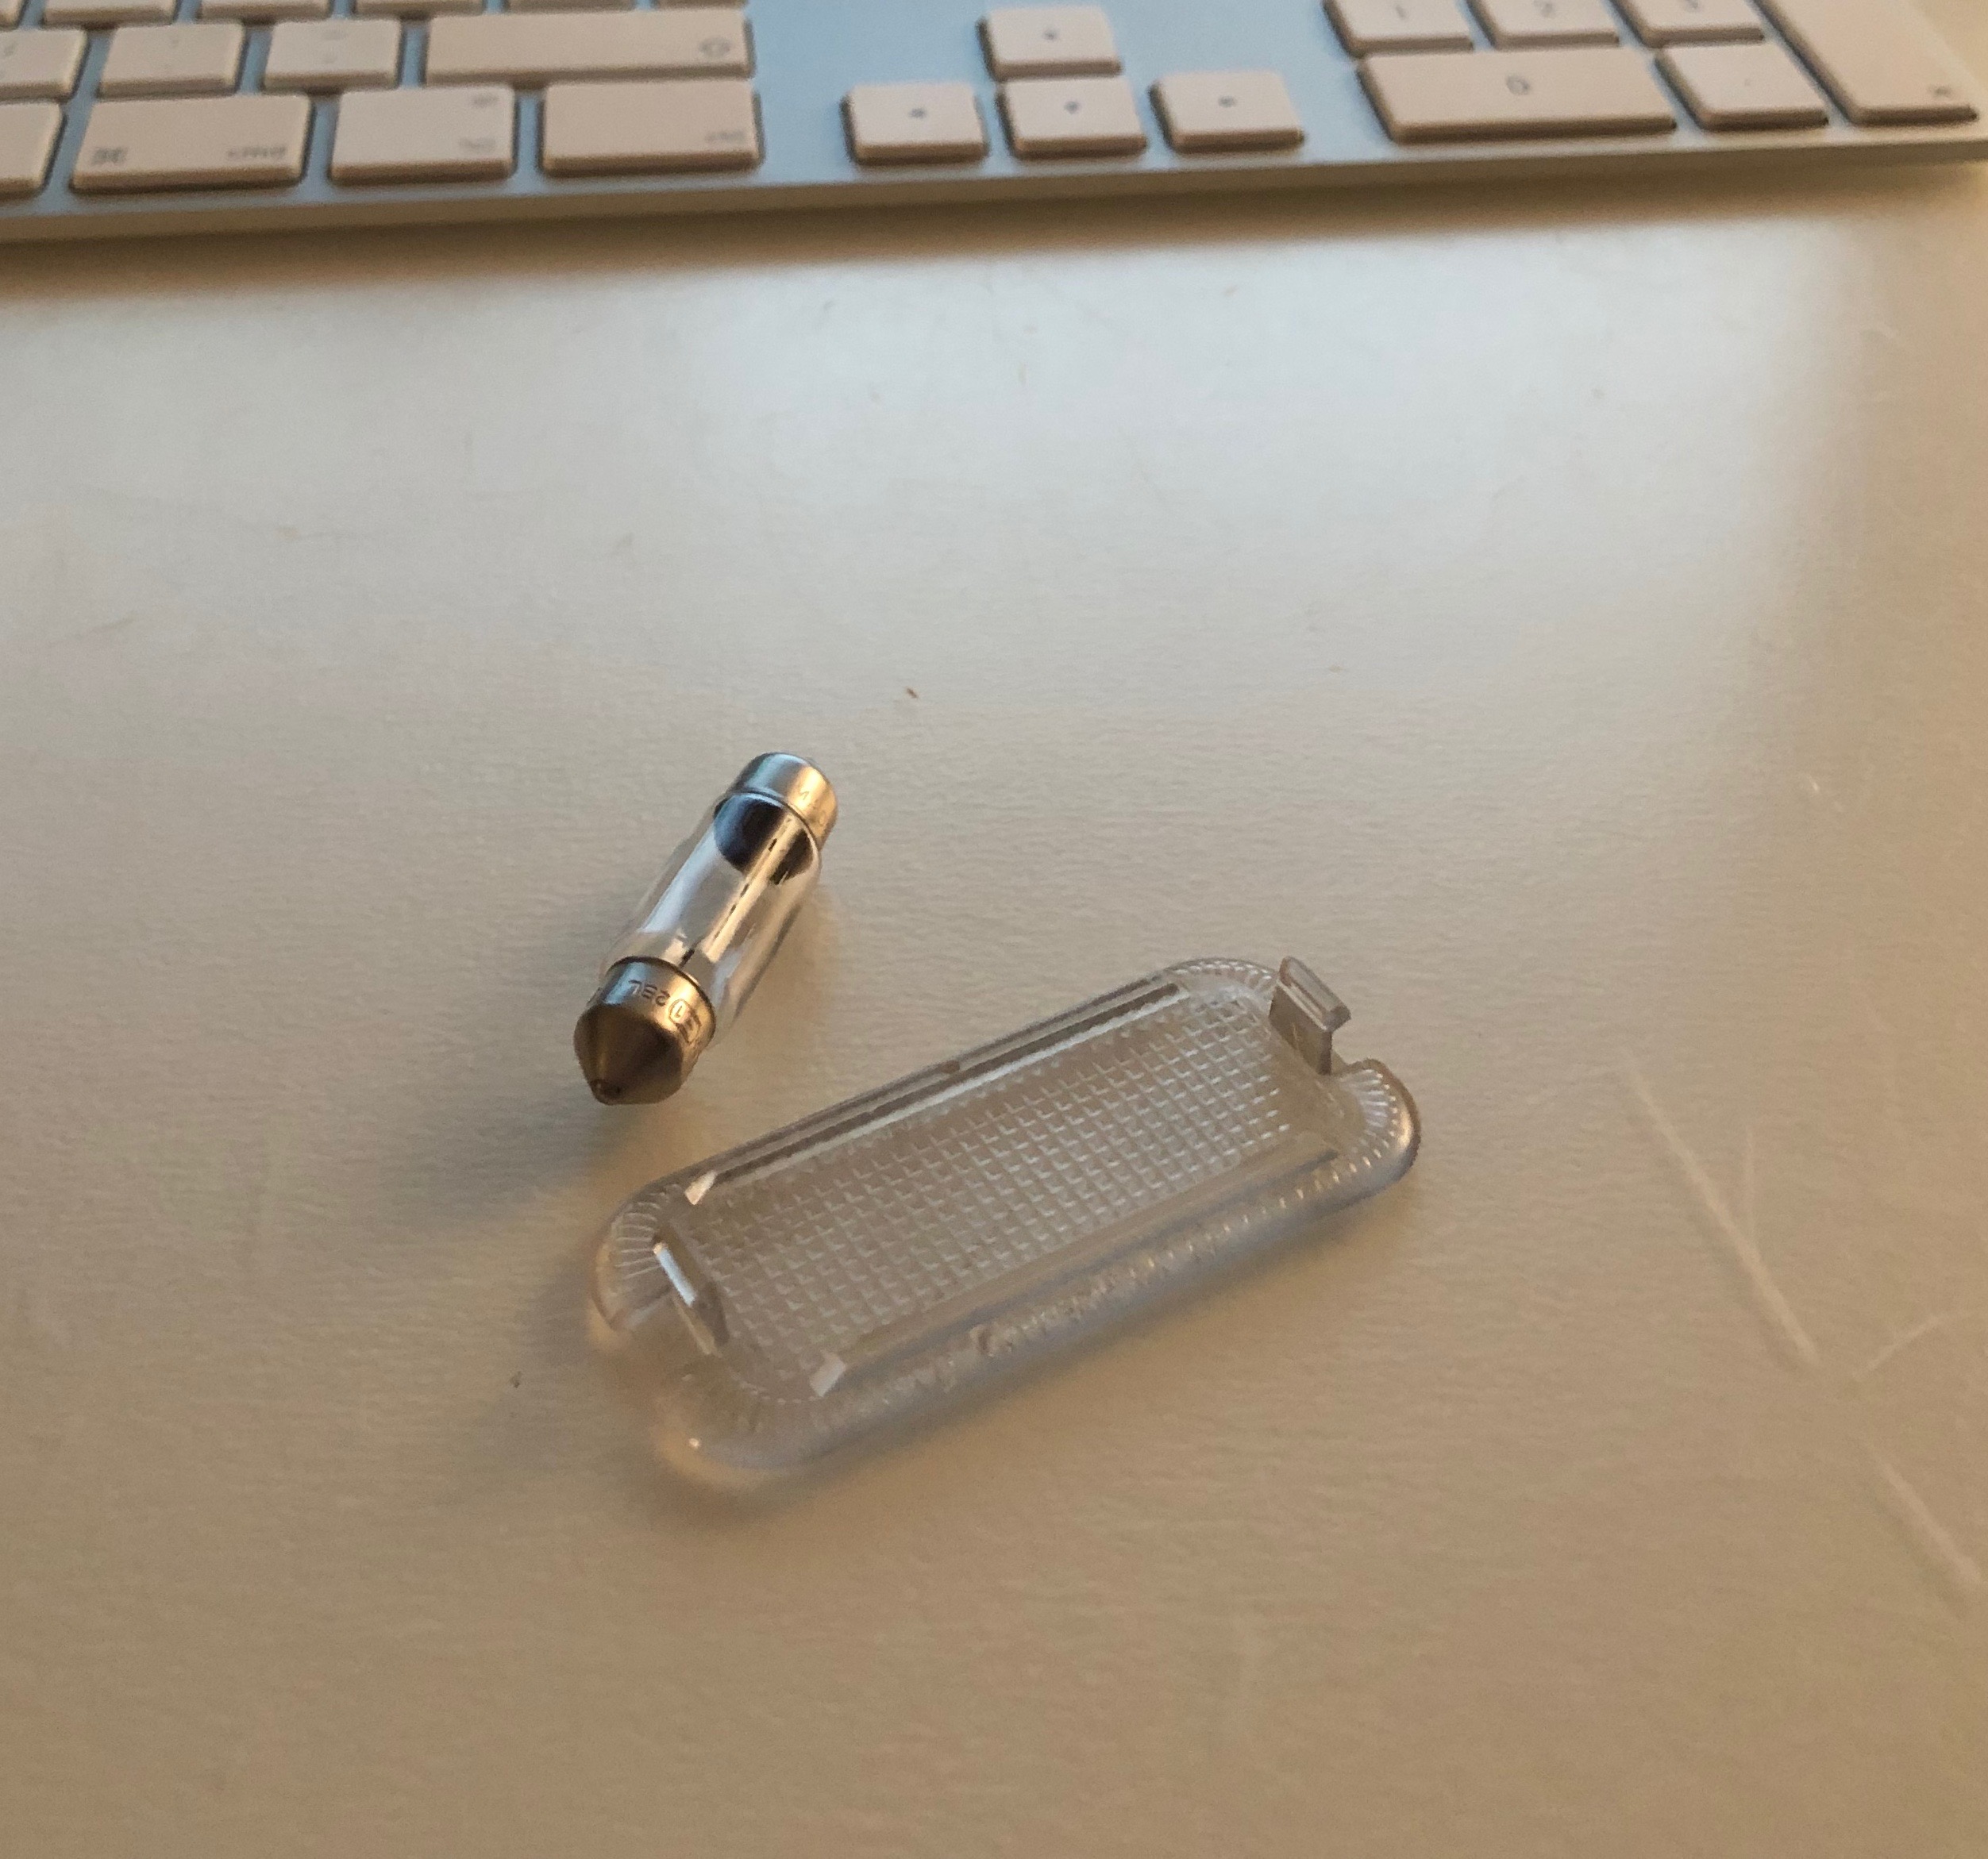
Initial situation
Following Soffitten Bulb (Festoons) and cover are factory default installed, in the door bracket from a Mercedes Benz W/S211 (E-class) and W219 (CLS).
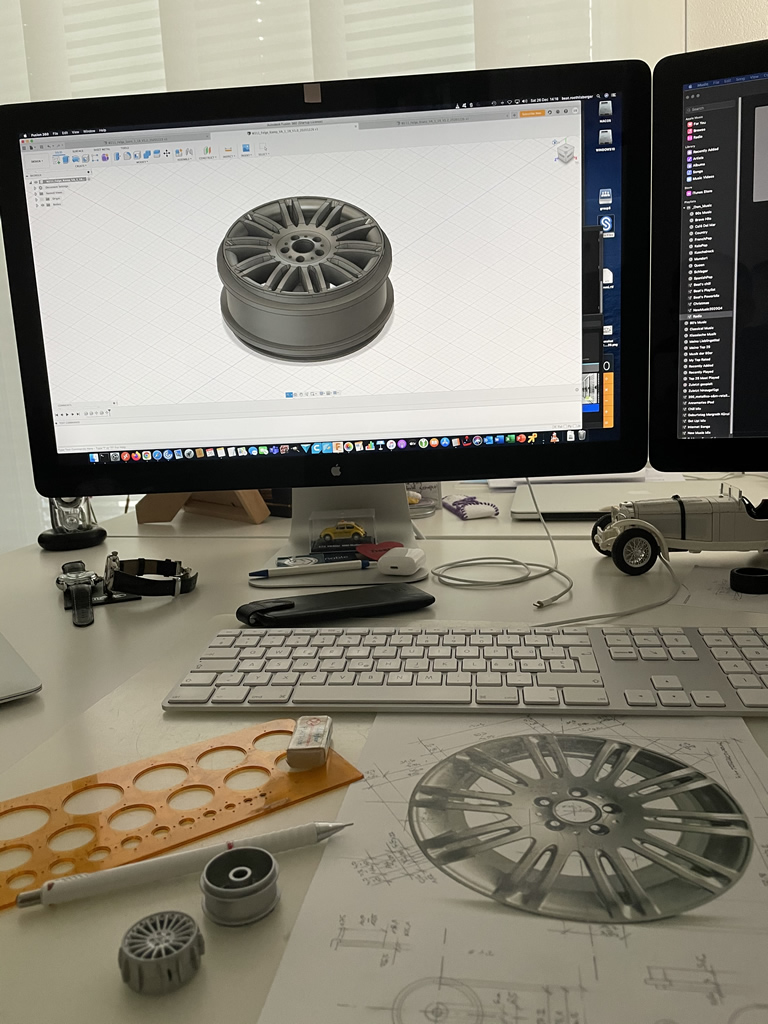
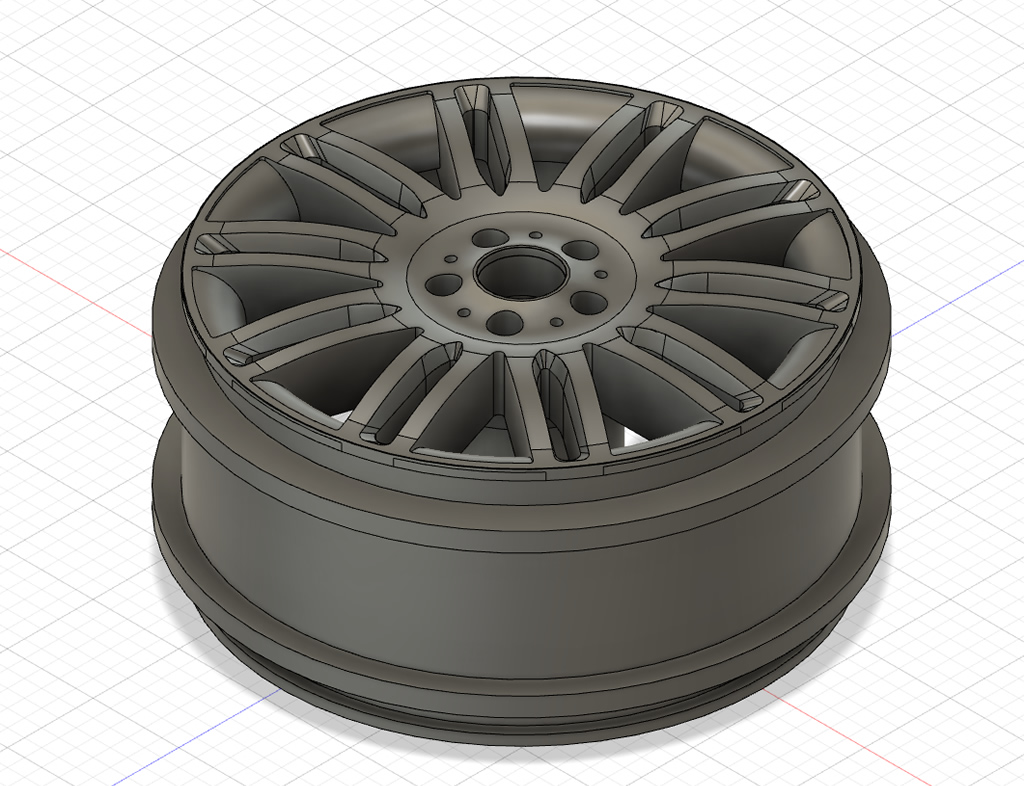
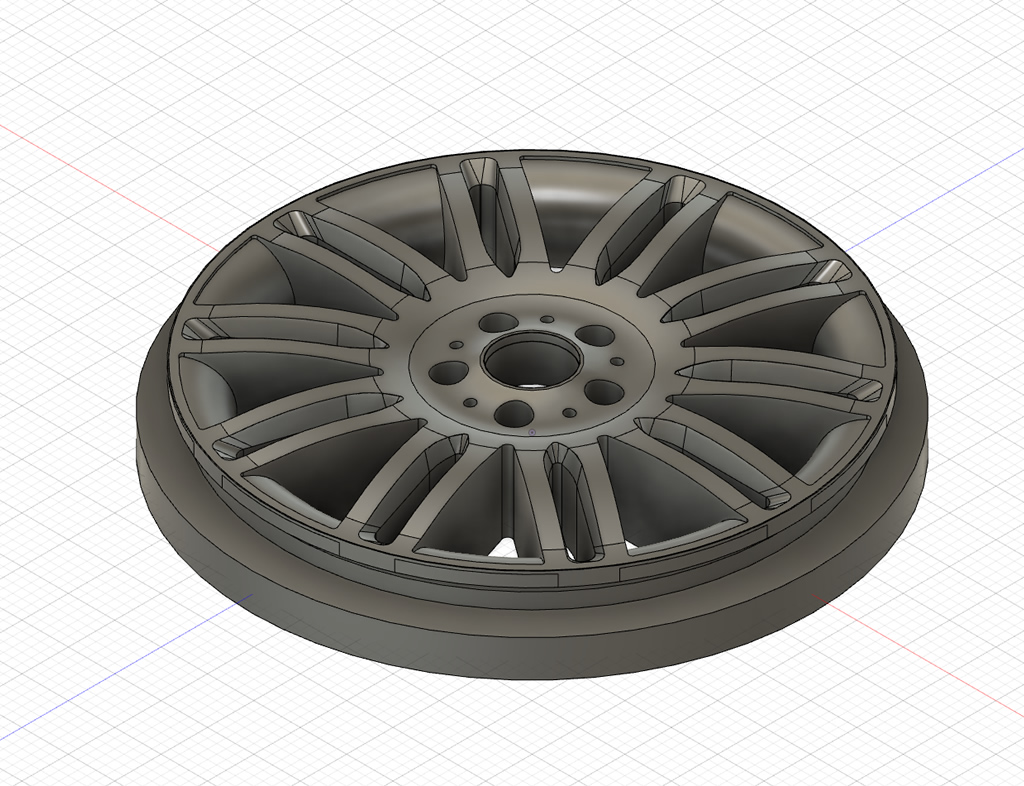
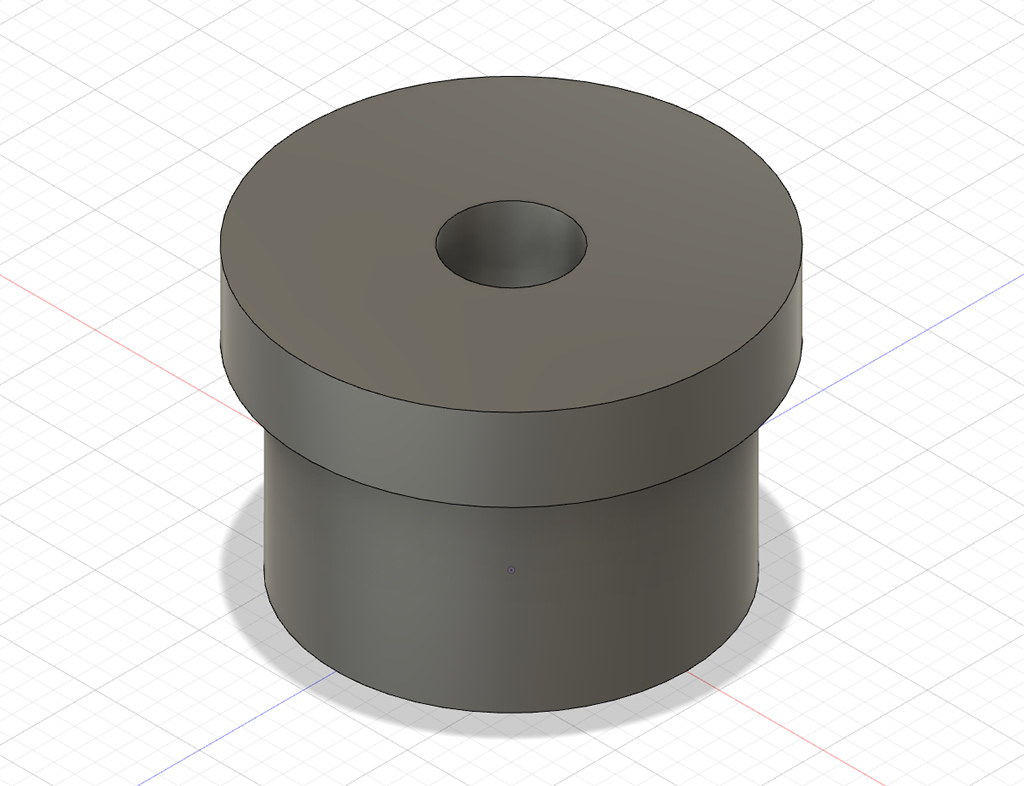
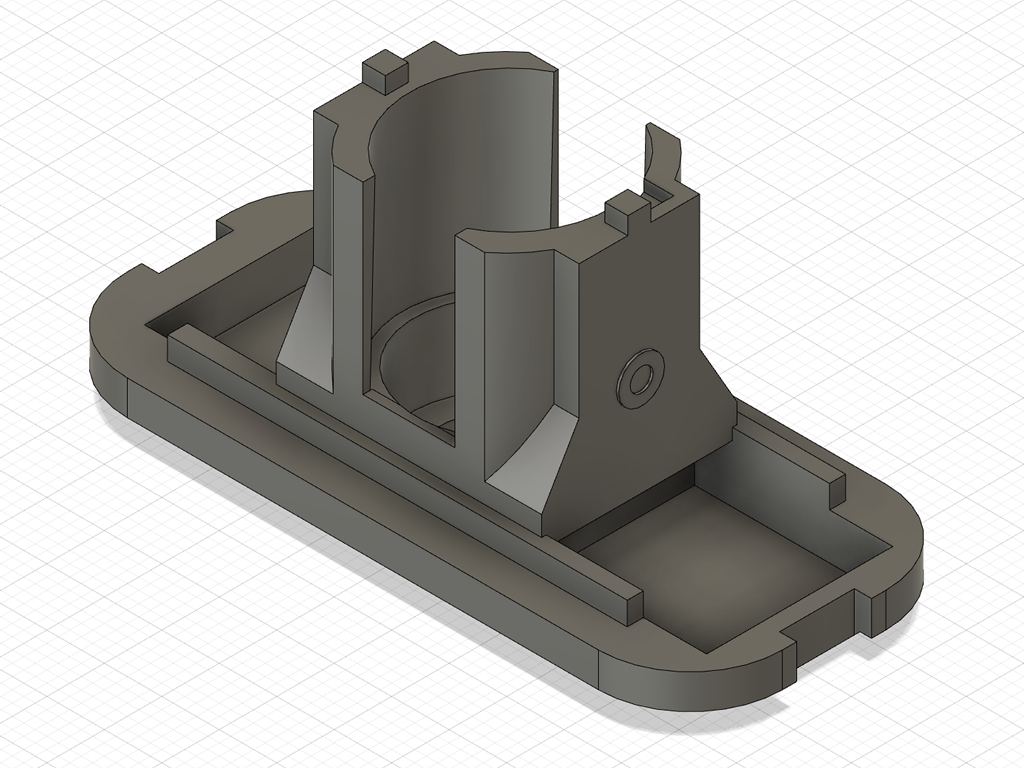
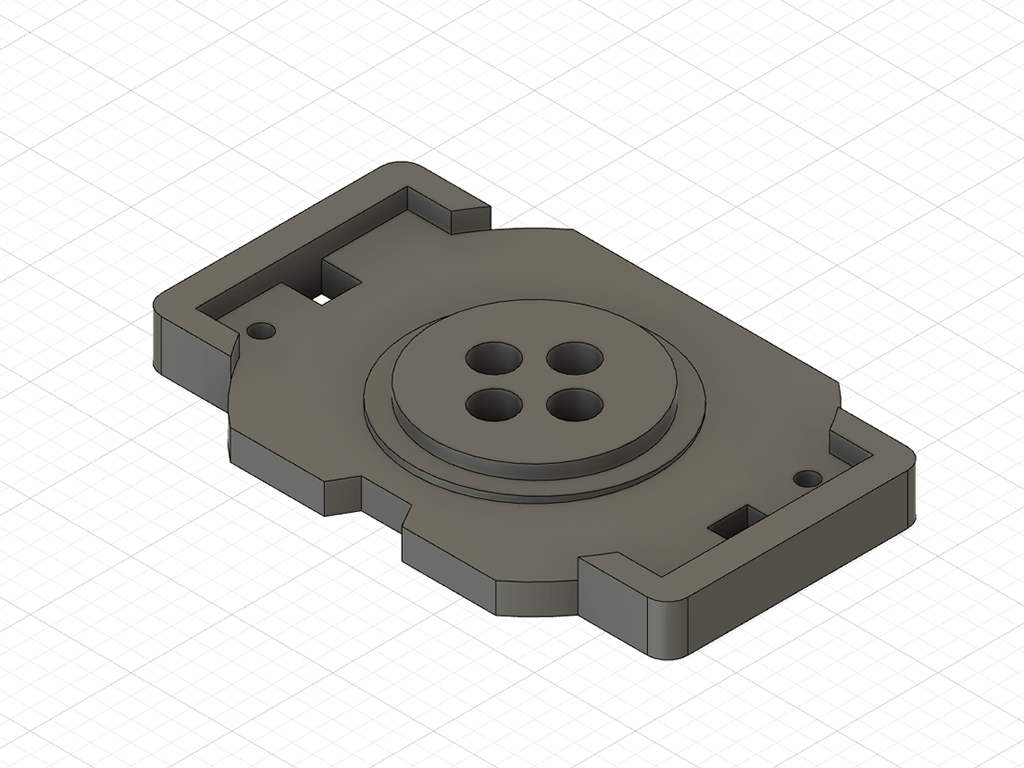
The 3D models
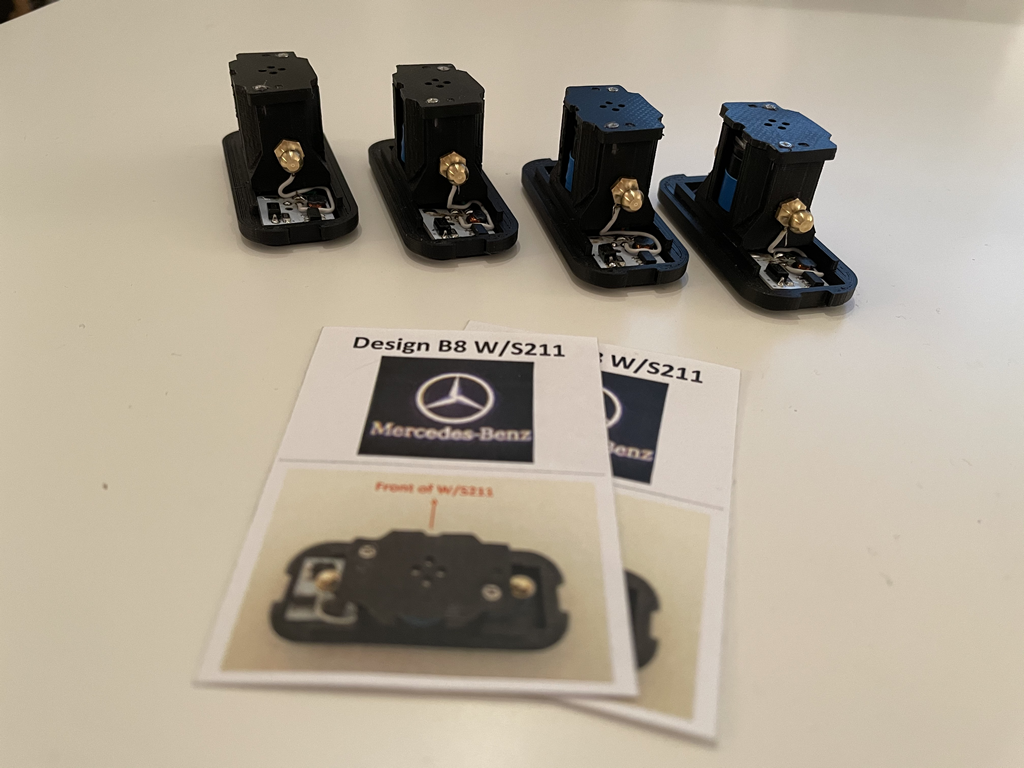
The assembled 3D print with Canbus electronic and LED projector
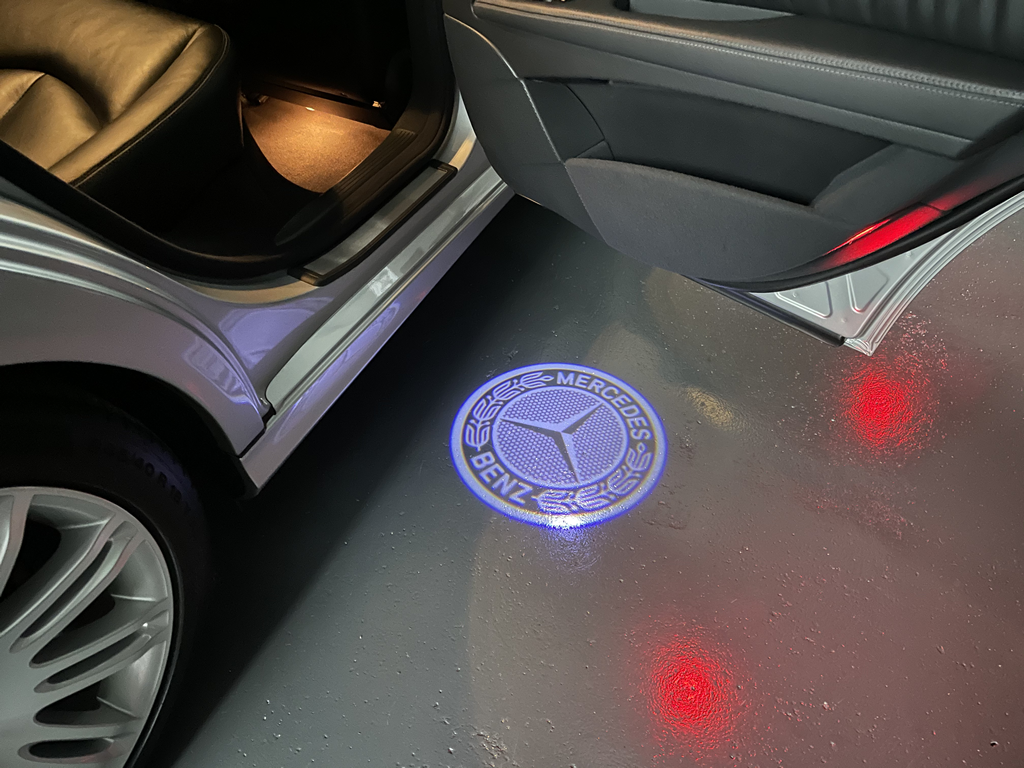
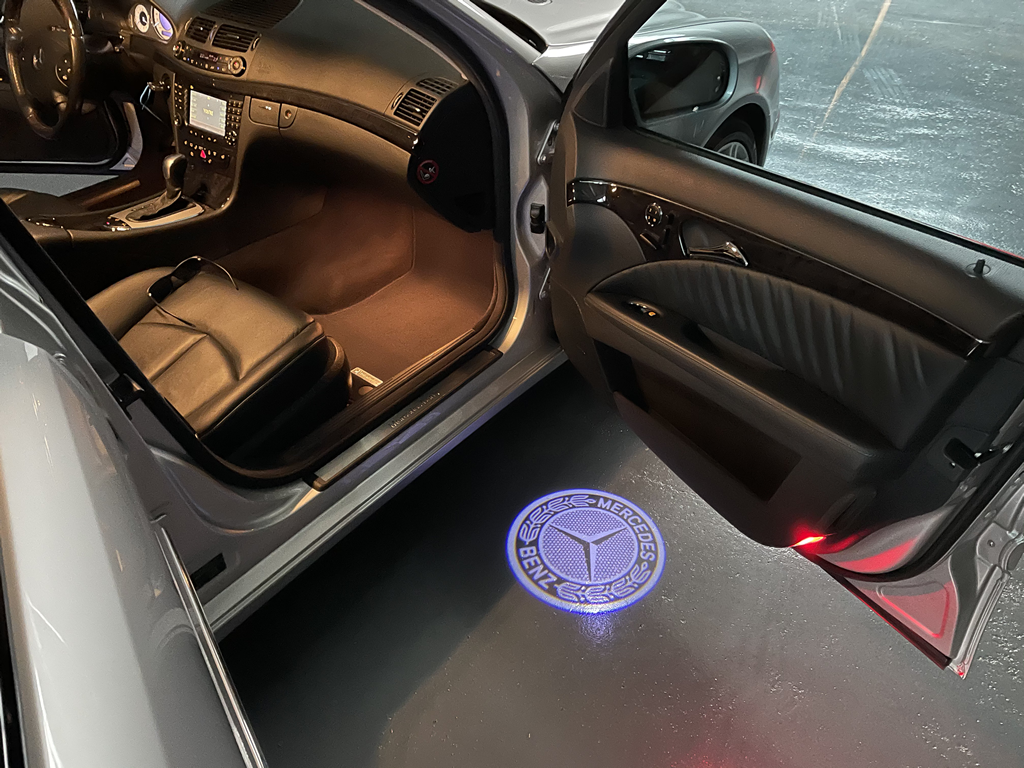
The result
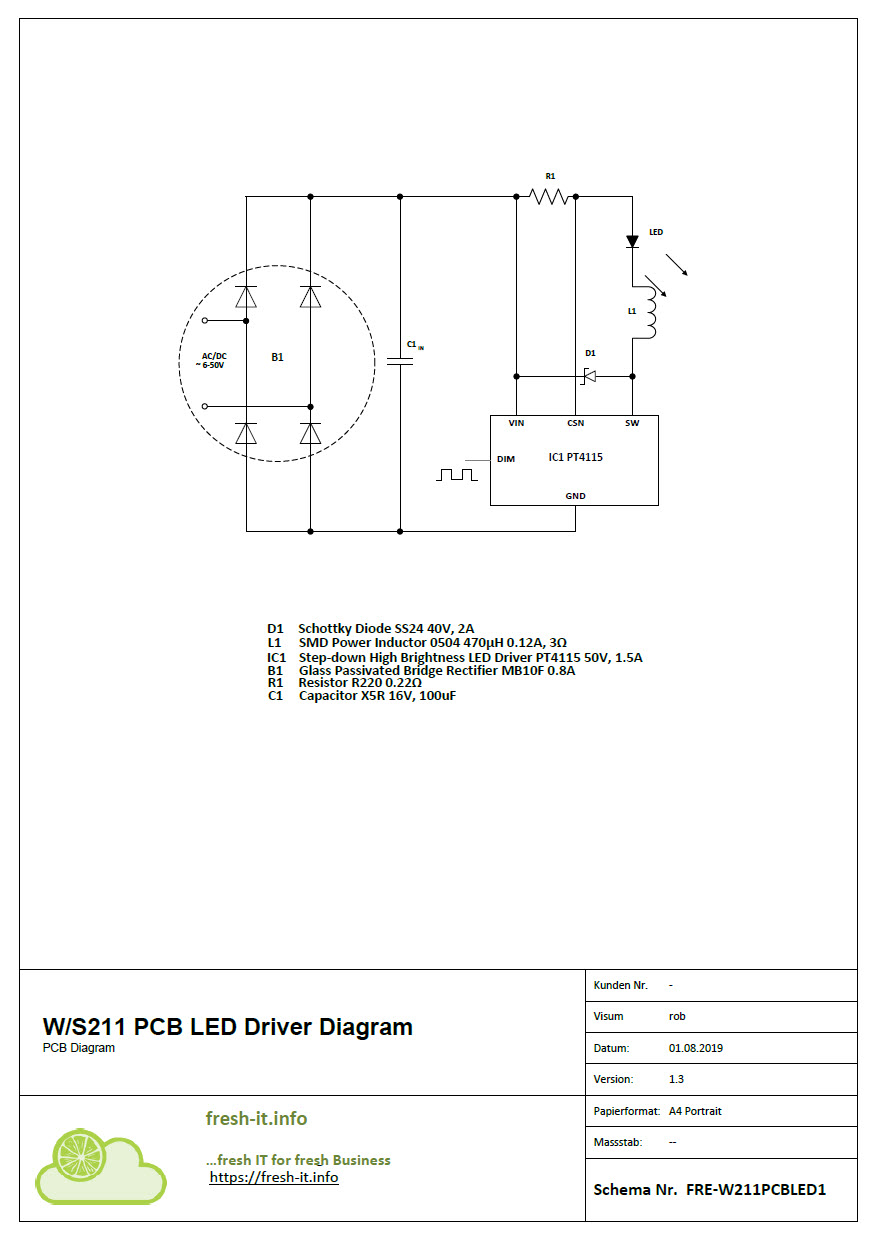
Electronic module circuit board / PCB
The circuit board is based on a central PT4115 and controls the power by means of a coil. Thus, the current is not converted into heat, respectively burned. The Glass Passivated Bridge Rectifier (MB10F) is used as pole reversal protection and allows an installation of the Shadow Light also in reverse direction.
Ressources
3D plan and construction: AutoDesk Fusion 360
3D printer: Anycubic Mega S
Filament: Form Futura TitanX ABS